
こんにちは。
Ubuntu20.04にPostfixというSMTPサーバーをインストールしましたが、Gmailなどにメール送信すると信頼性のないSMTPサーバーと見なされ受信拒否される可能性が高いです。そのため、中継サーバーとしてGmailSMTPを使用して送信する方法を記載します。Postfixは、信頼性の高いメール配信のために、GmailSMTPサーバーなどの外部SMTPサーバーを経由してメールを中継する事が出来ます。
前提条件
- Ubuntu20.04
- Googleアカウント作成済み
Postfixとは
Postfixはオープンソースのメール転送エージェント(MTA:Mail Transfer Agent)です。メール転送エージェント(MTA)には、他に「sendmail」や「qmail」などがあります。「Postfix」は3つの中で一番新しいMTAですが、sendmailとの互換性が高く、安全性・メンテナンス性の高さ、動作の速さから最近の主流になっています。
Postfixインストール
apt install postfix
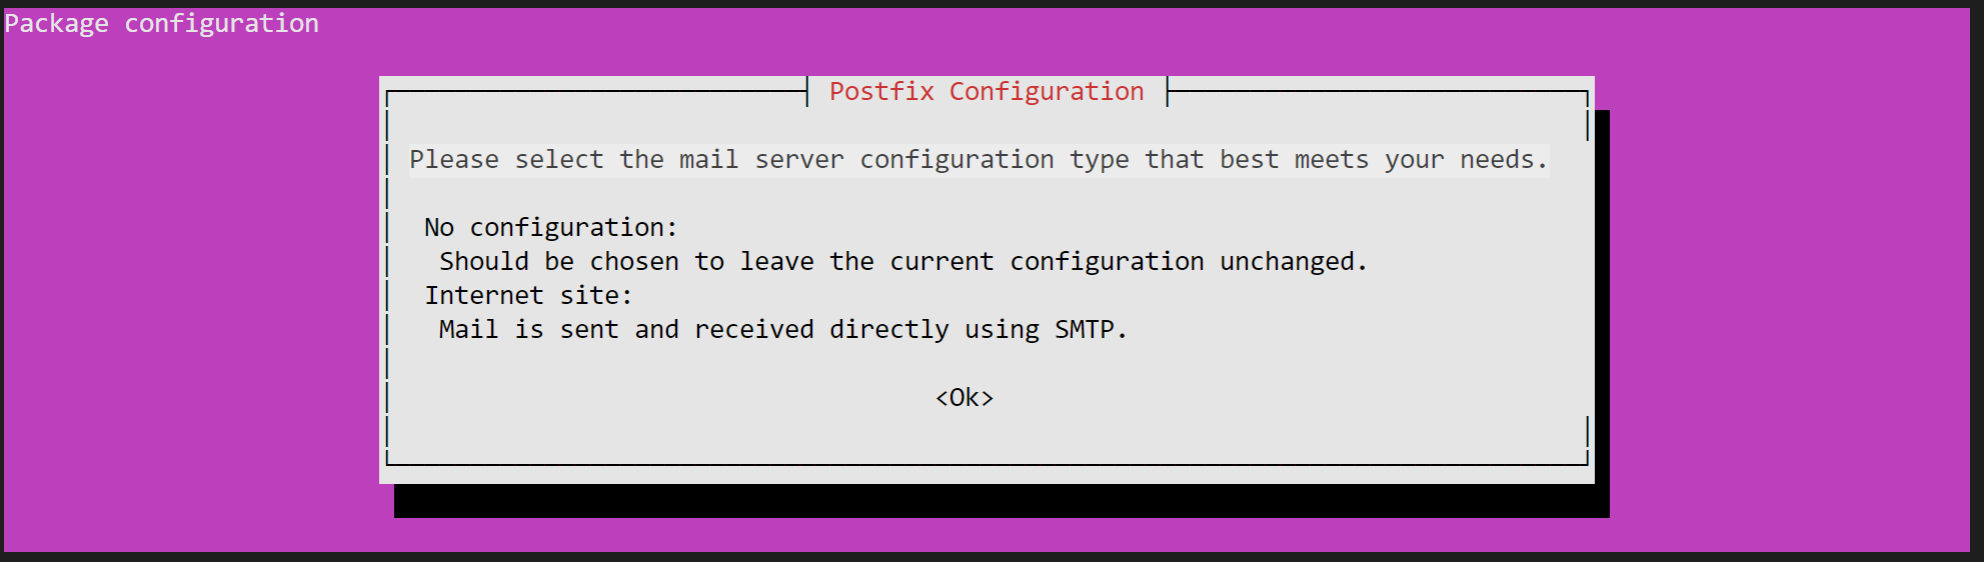
[Internet Site]を選択します。
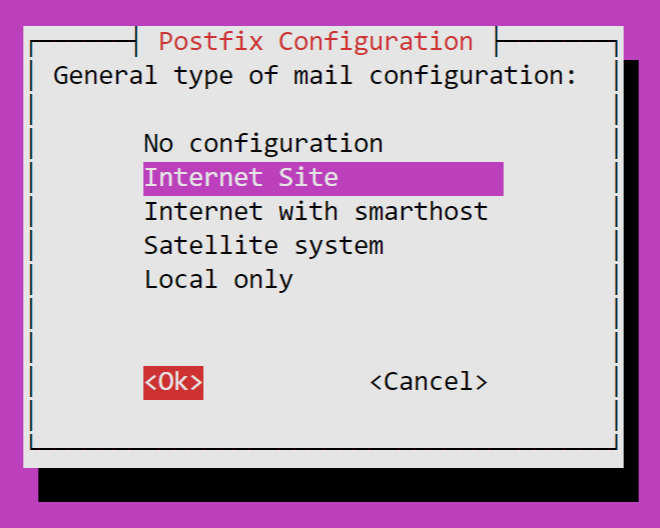
構成設定は以下から、[Internet site]を選択します。
| No configuration | 現在の構成を変更しない |
| Internet site | メールはSMTPを使用して直接送受信 |
| Internet with smarthost | メールはSMTPを使用して直接受信するか、fetchmailなどのユーティリティを実行して受信、送信メールはスマートホストを使用して送信 |
| Satellite system | すべてのメールは「スマートホスト」と呼ばれる別のマシンに送信され、配信。 |
| Local only | ローカルユーザー宛のメールのみ |
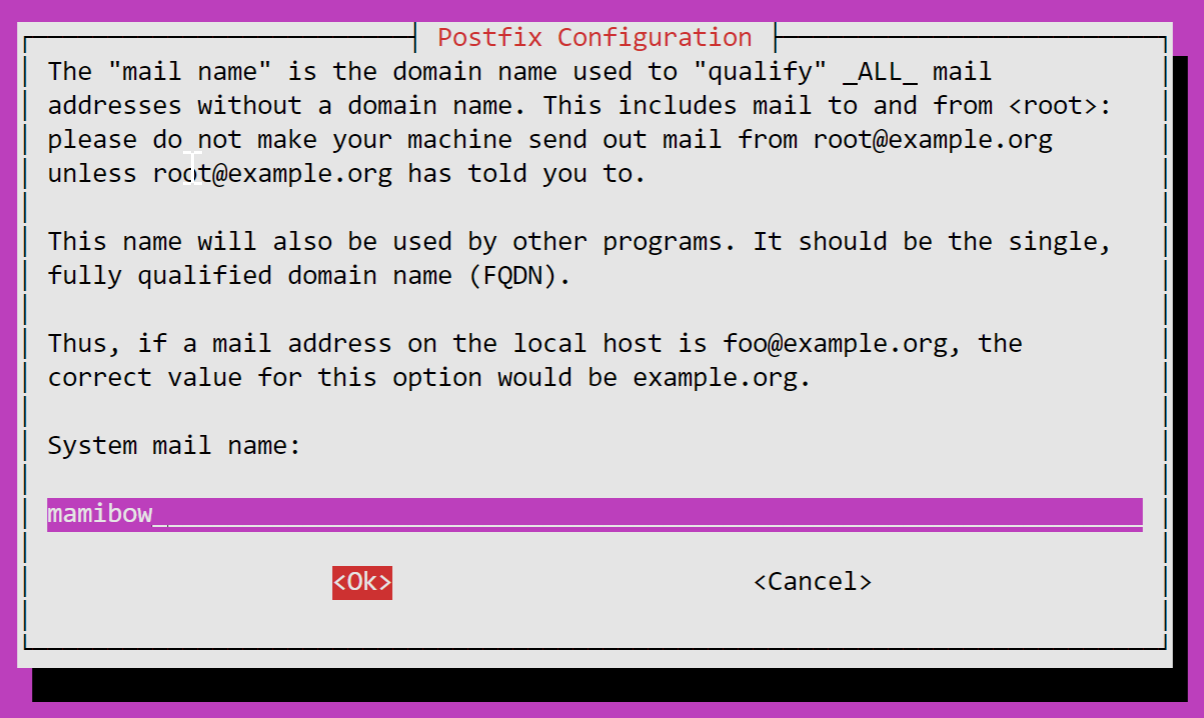
システムメール名を入れます。
PostfixでGmailSMTP経由にする設定 main.cf
/etc/postfix/main.cfにて設定をします。
nanoを使用して、main.cfを開きます。
sudo nano /etc/postfix/main.cf
relayhostを以下のようにします。
relayhost = [smtp.gmail.com]:587
smtp_tls_security_levelをmay→encryptにします。
#smtp_tls_security_level=may
smtp_tls_security_level=encrypt
以下を最後に追加します。
smtp_sasl_auth_enable = yes
smtp_sasl_password_maps = hash:/etc/postfix/sasl_passwd
smtp_sasl_security_options = noanonymous
パスワードファイルの作成 sasl_passwd
sudo nano /etc/postfix/sasl_passwd
以下の形でメールアドレスとパスワードを入れる
[smtp.gmail.com]:587 userid@gmail.com:password
chown root:rootでファイルの所有者やグループをrootに設定し、chmod 600で所有者のみの読み書きに制限します。
sudo chown root:root /etc/postfix/sasl_passwd
sudo chmod 600 /etc/postfix/sasl_passwd
パスワード・ハッシュを生成します。
sudo postmap hash:/etc/postfix/sasl_passwd
sasl_passwd.dbが出来ています。
$ sudo ls -l /etc/postfix/sasl_passwd*
-rw------- 1 root root    60 Dec  8 10:12 /etc/postfix/sasl_passwd
-rw-r--r-- 1 root root 12288 Dec  8 13:11 /etc/postfix/sasl_passwd.db
postfixの設定が問題ないか確認します。以下warningは無視して進めます。
$ sudo postfix check
postfix/postfix-script: warning: symlink leaves directory: /etc/postfix/./makedefs.out
postfixを再起動します。
$ sudo systemctl restart postfix
ステータスを確認します。
$ sudo systemctl status postfix
● postfix.service - Postfix Mail Transport Agent
     Loaded: loaded (/lib/systemd/system/postfix.service; enabled; vendor preset: enabled)
     Active: active (exited) since Sun 2020-12-13 12:50:54 UTC; 1min 43s ago
    Process: 466143 ExecStart=/bin/true (code=exited, status=0/SUCCESS)
   Main PID: 466143 (code=exited, status=0/SUCCESS)

Dec 13 12:50:54 mamibow systemd[1]: Starting Postfix Mail Transport Agent...
Dec 13 12:50:54 mamibow systemd[1]: Finished Postfix Mail Transport Agent.
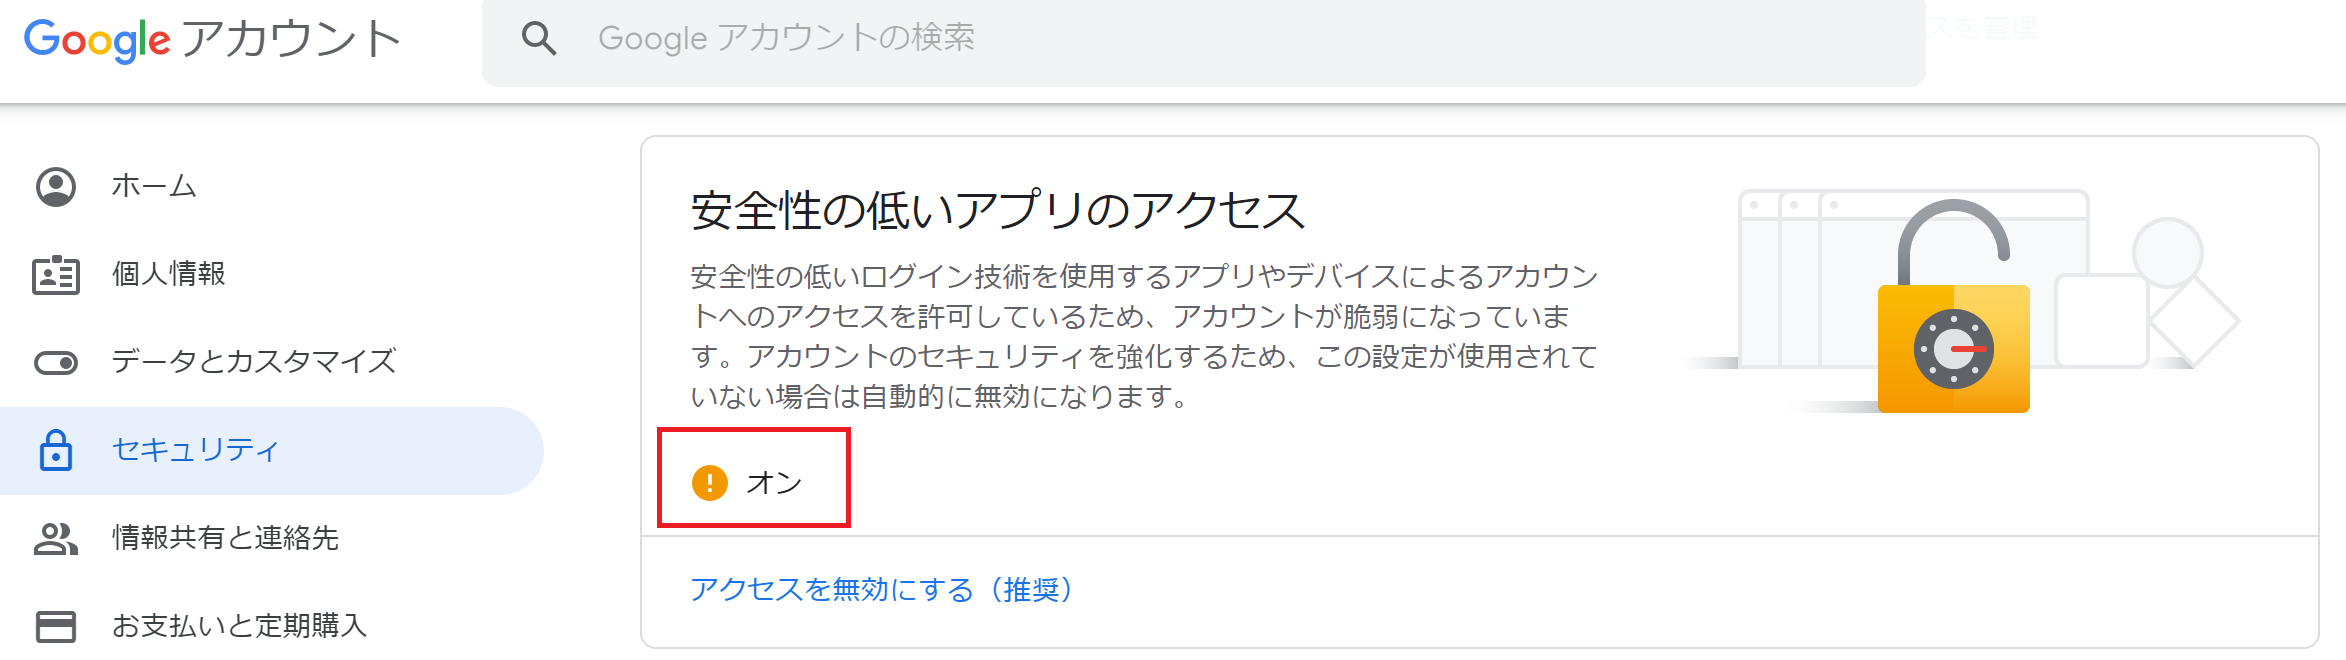
Googleアカウントセキュリティの設定
googleアカウントのセキュリティ設定で[安全性の低いアプリへのアクセス]をONにする必要があります。
送信テスト
以下コマンドでメール送信します。
echo “Hello! This is test mail.” | mail -s “Test Mail by Postfix” XXXX@XXXXXX(宛先)
メール受信を確認出来たら、完了です。


コメント