
こんにちは。
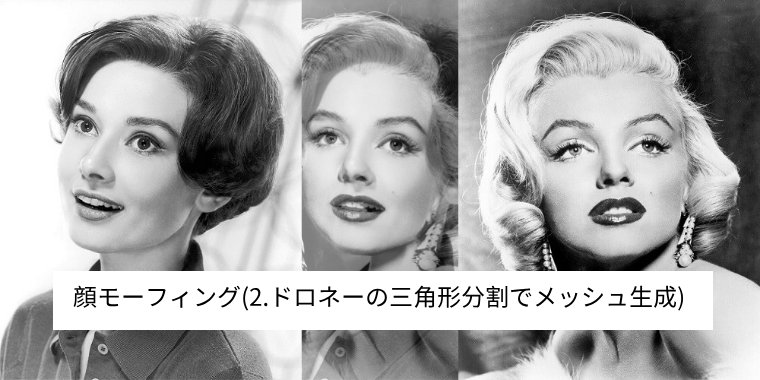
毎週木曜日の19時はVS嵐を見ることが習慣になっています。その中にある「顔ミックス対決」にトライしたので、分解して少しずつ記事にしていこうと思います。
 mami
mami少しずつです(笑)
「顔ミックス」という名前ではなくて、顔モーフィング(face Morphing)というのが一般的なようです。モーフィングとは「ある物体から別の物体へと自然に変形する映像をみせる。」事だそうです。by ウィキ
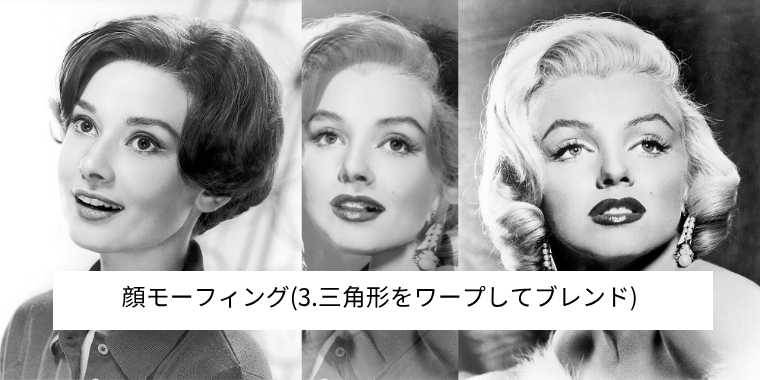
ここではオードリーヘップバーンからマリリンモンローへのモーディングを例にしていきます。
顔モーフィングを作る手順は以下です。今回は「1.顔の特徴点の検出」について書いていきます。
- 顔の特徴点の検出
- ドロネーの三角形分割でメッシュ生成
- 三角形をワープしてブレンド
目次
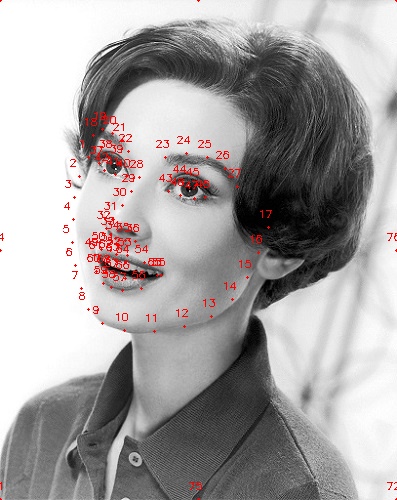
1.顔の特徴点の検出
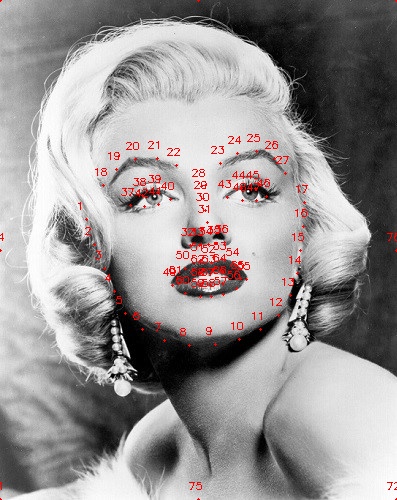
顔の特徴点はdlibを使用して68点を検出します。
あとは画像のコーナー4点とそれらのコーナーの中間点4点を追加します。
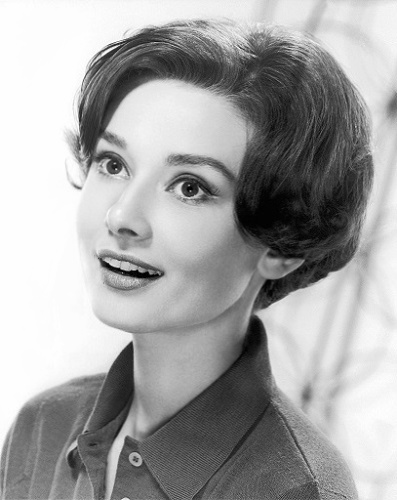
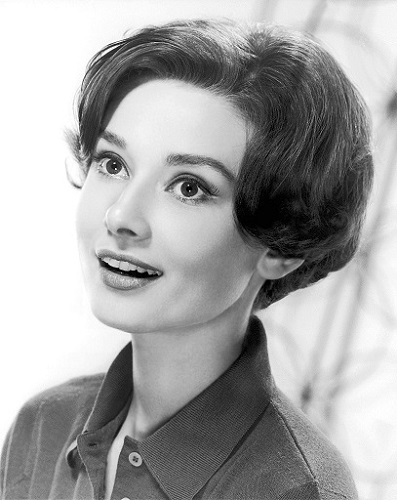
オードリーヘップバーン
[colwrap]
[col2]
[/col2]
[col2]
[/col2]
[/colwrap]
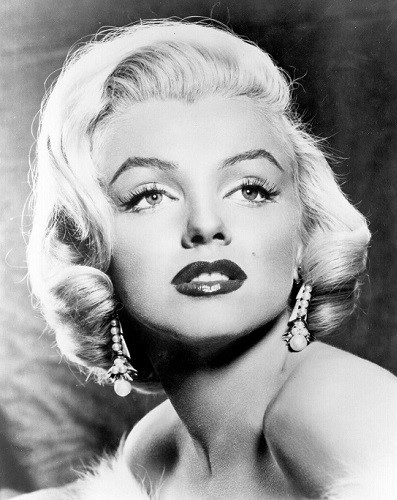
マリリンモンロー
[colwrap]
[col2]
[/col2]
[col2]
[/col2]
[/colwrap]
ソースコード
def Face_landmarks(image_path):

  print("[INFO] loading facial landmark predictor...")
  detector = dlib.get_frontal_face_detector()
  predictor = dlib.shape_predictor("shape_predictor_68_face_landmarks.dat")

  image = cv2.imread(image_path)
  size = image.shape

  gray = cv2.cvtColor(image, cv2.COLOR_BGR2GRAY)
  rects = detector(gray, 0)

  if len(rects) > 2:
    print("[ERR] too many faces fount...")
    # print("[Error] {} faces found...".format(len(rect)))
    sys.exit(1)
  if len(rects) < 1:
    print("[ERR] face not found...")
    # print("[Error] face not found...".format(len(rect))
    sys.exit(1)

  for rect in rects:
    (bX, bY, bW, bH) = face_utils.rect_to_bb(rect)
    print("[INFO] face frame {}".format(bX, bY, bW, bH))

    shape = predictor(gray, rect)
    shape = face_utils.shape_to_np(shape)
    points = shape.tolist()

    # (0,0),(x,0),(0,y),(x,y)
    points.append([0, 0])
    points.append([int(size[1]-1), 0])
    points.append([0, int(size[0]-1)])
    points.append([int(size[1]-1), int(size[0]-1)])

    # (x/2,0),(0,y/2),(x/2,y),(x,y/2)
    points.append([int(size[1]/2), 0])
    points.append([0, int(size[0]/2)])
    points.append([int(size[1]/2), int(size[0]-1)])
    points.append([int(size[1]-1), int(size[0]/2)])

  cv2.destroyAllWindows()
  return points
特徴点を取得したらその点と番号を書いていきます。(モーフィングには使いません)
if __name__ == '__main__':

    filename = 'image/MarilynMonroe.jpg'
    name,ext = os.path.splitext(filename)
    img = cv2.imread(filename)

    points = Face_landmarks(filename)


    stringToWrite = ''
    for (i, (x, y)) in enumerate(points):
        print(x, y)
        stringToWrite += str(x) + " " + str(y) + "n"

        cv2.circle(img, (x, y), 1, (0, 0, 255), -1)
        cv2.putText(img, str(i + 1), (x - 10, y - 10),
            cv2.FONT_HERSHEY_SIMPLEX, 0.35, (0, 0, 255), 1)

    cv2.imwrite('%s-points.jpg' %name,img)


コメント